If you have been following the previous Vue.js 3 tutorials, to create a new project or the Composition and Options APIs, and now you would like to build an application with a few sections and a menu, this is the right tutorial for you.
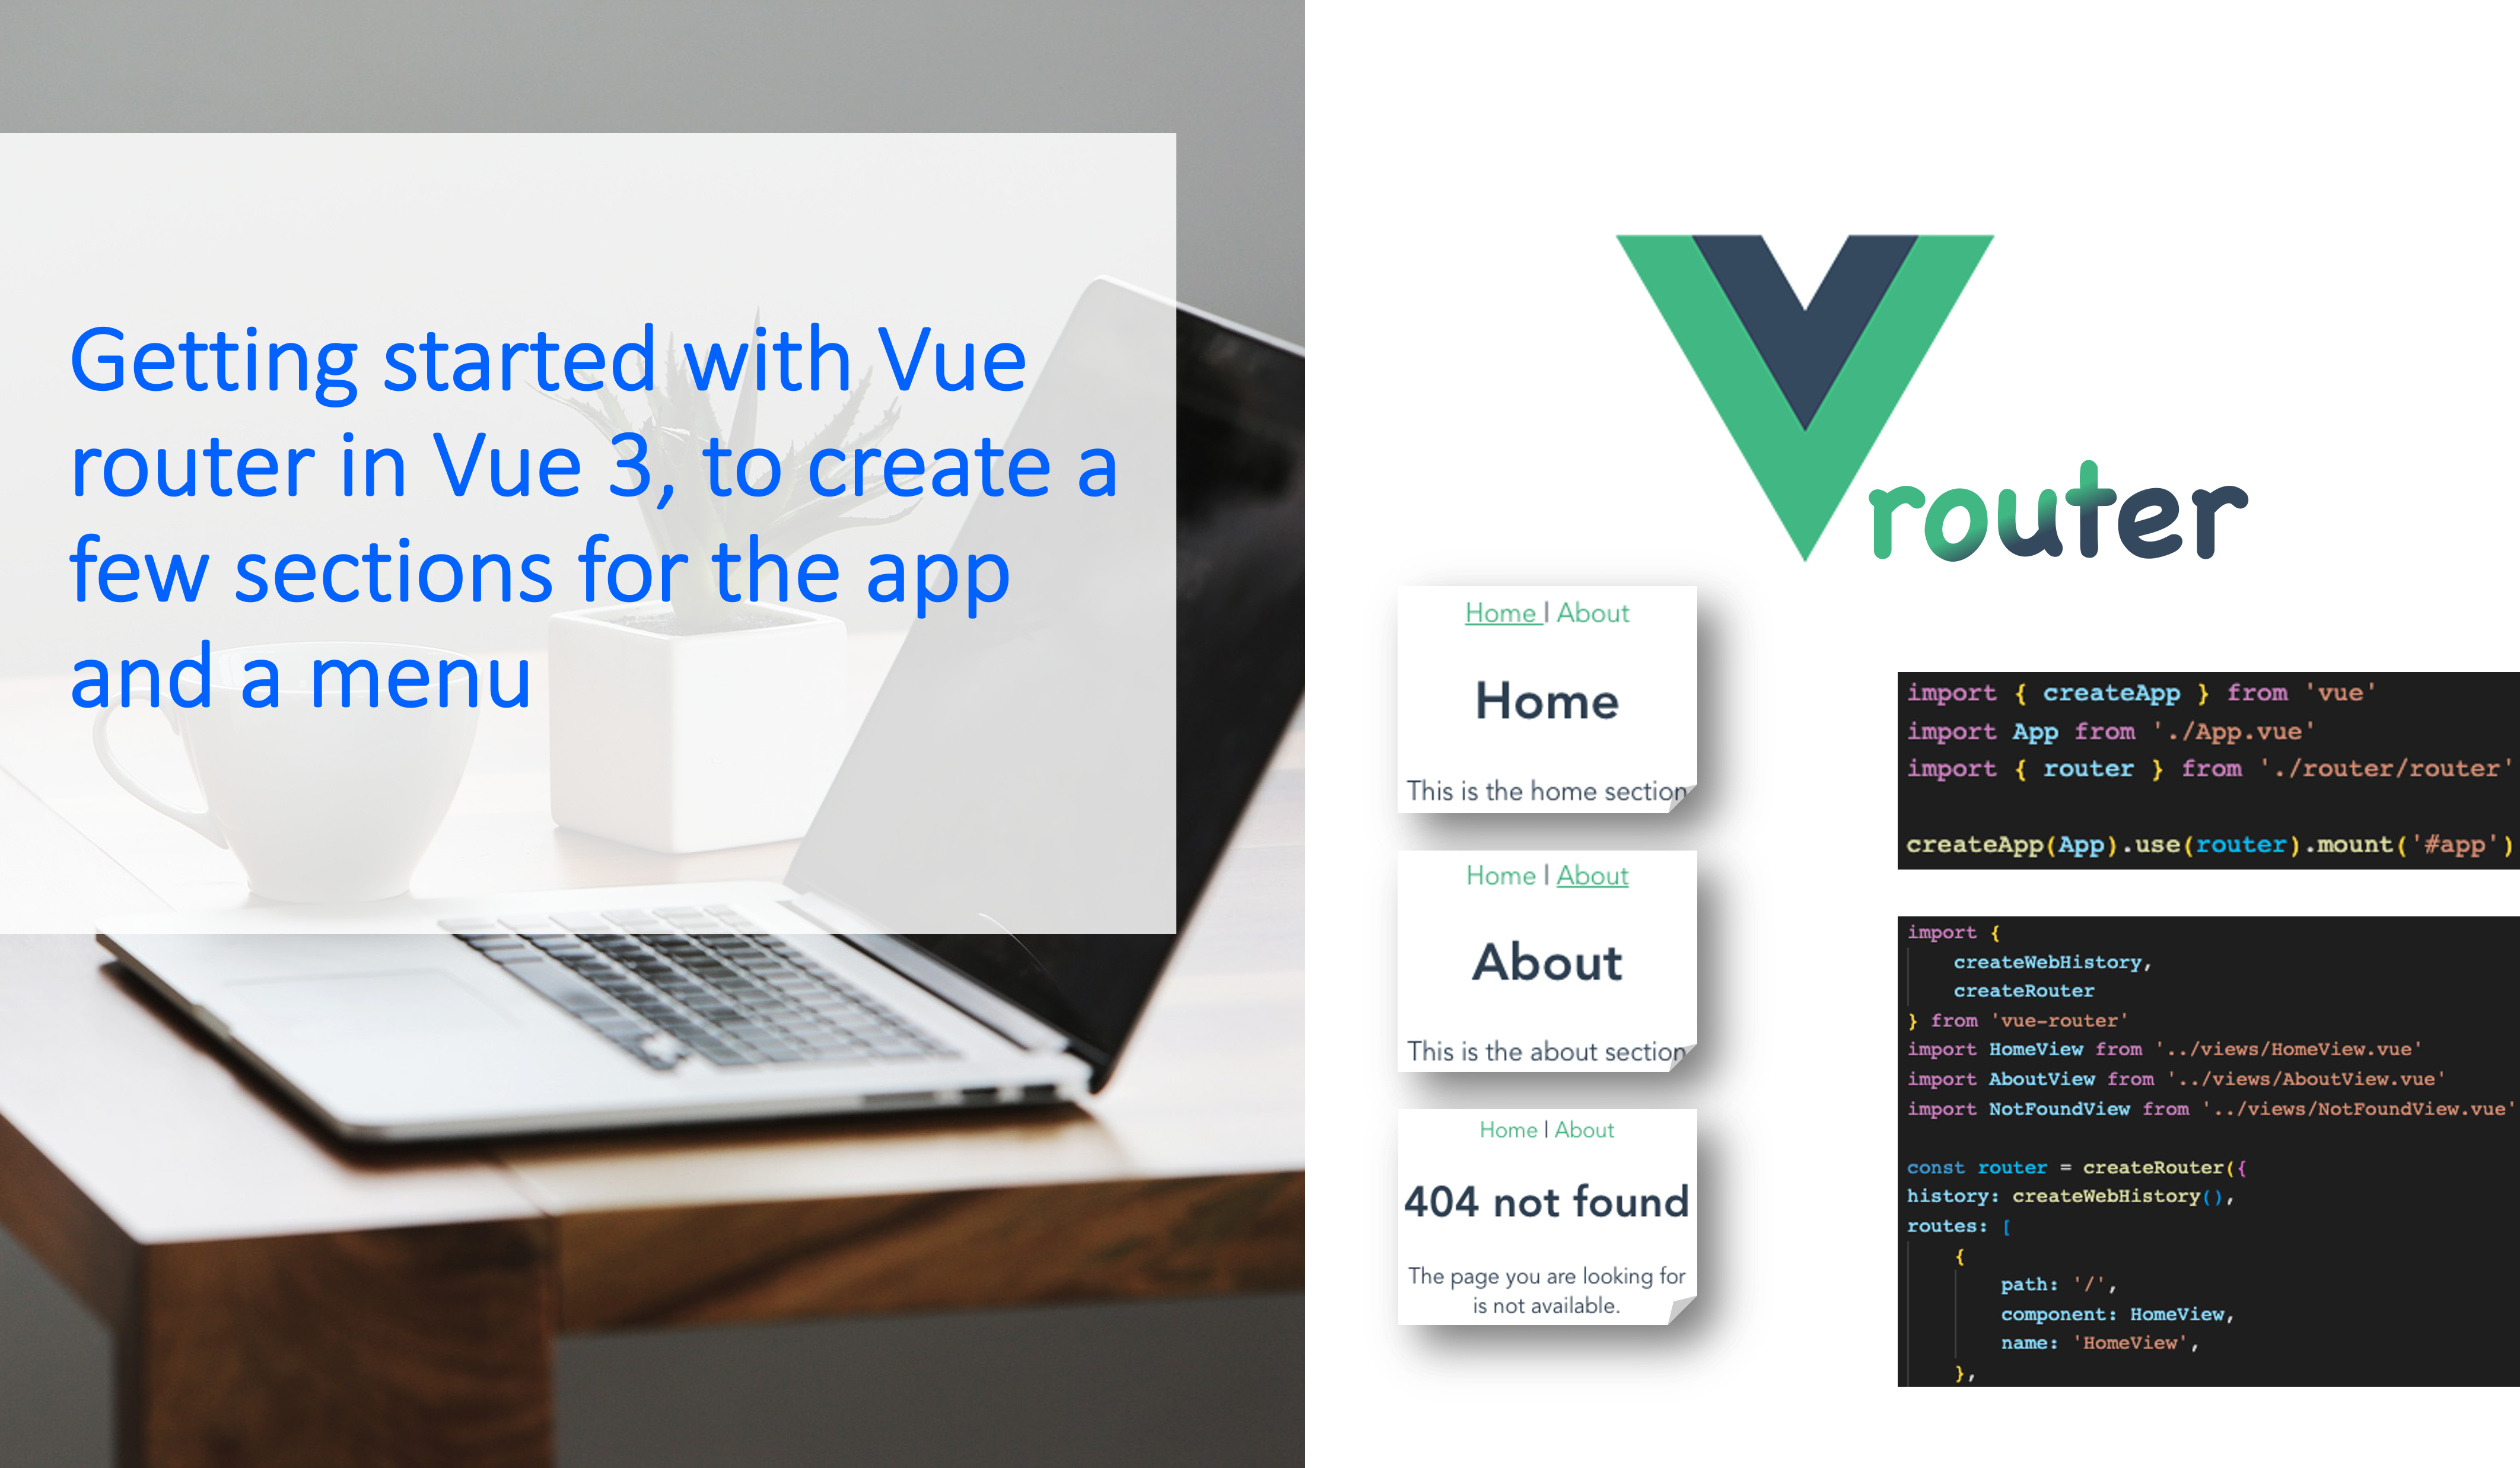
In this tutorial we will install Vue router, create some sections like Home and About for our app and set up a menu to access these sections.
The finished directory structure for the source folder of this Vue project is going to look like this:
src
├── assets
├── components
│   └── MenuComponent.vue
├── router
│   └── router.js
├── views
│   ├── AboutView.vue
│   ├── HomeView.vue
│   └── NotFoundView.vue
├── App.vue
└── main.js
Setting up the views
At first let’s set up our views directory with 3 files:
- HomeView.vue
- AboutView.vue
- NotFoundView.vue
For the HomeView.vue, paste in the following lines of code and adapt the H1, paragraph and component name for the AboutView and NotFoundView respectively with a message of your choice.
<template>
    <h1>Home</h1>
    <p>This is the home section</p>
</template>

<script>
export default {
    name: 'HomeView'
}
</script>

<style scoped>
</style>
Vue router installation
Secondly, let’s install vue router in our project directory using npm or yarn.
npm:
npm install vue-routeryarn:
yarn add vue-routerConfiguring our router
Now let’s create the new directory router and inside a file called router.js with the following lines of code:
import {
    createWebHistory,
    createRouter
} from 'vue-router'
import HomeView from '../views/HomeView.vue'
import AboutView from '../views/AboutView.vue'
import NotFoundView from '../views/NotFoundView.vue'

const router = createRouter({
history: createWebHistory(),
routes: [
    {
        path: '/',
        component: HomeView,
        name: 'HomeView',
    },
    {
        path: '/about',
        component: AboutView,
        name: 'AboutView',
    },
    {
        path: '/:pathMatch(.*)*',
        component: NotFoundView,
        name: 'NotFoundView'
    },
]
})

export { router }
As you can see we imported our 3 view components and declared each route within the routes array. Each object withing the array contains the path, component and name.
Configuring our main.js file
Inside the main.js file we will install router as a plugin. Therefore, we have to import the router plugin and tell our vue app to use it. For your main.js file use the following lines of code:
import { createApp } from 'vue'
import App from './App.vue'
import { router } from './router/router'

createApp(App).use(router).mount('#app')
router-view component in App.vue
Now let’s go to our App.vue file and make sure we include the <router-view /> component, which will look at all our routes and try to match up the correct one. In other words router-view is kind of like a slot, which replaces itself – the router-view component – dynamically with the correct route or another component like our HomeView component. Your App.vue file should look somewhat similar to this:
<template>
  <router-view />
</template>

<script>

export default {
  name: 'App'
}
</script>

<style>
#app {
  font-family: Avenir, Helvetica, Arial, sans-serif;
  -webkit-font-smoothing: antialiased;
  -moz-osx-font-smoothing: grayscale;
  text-align: center;
  color: #2c3e50;
  margin-top: 60px;
}
</style>
To check if this works start your Vue app with npm run serve and go to http://localhost:3000 or http://localhost:8080 and try to change the url to e.g. http://localhost:8080/about or http://localhost:8080/thisWillCauseA404.
Creating a menu with the router-link component
In order to create a menu, let’s create a new component MenuComponent.vue in our components directory. Instead of a link that looks like this <a href="/about"> we will use the <router-link> component. We will also give the class router-link-active a seperate style to highlight the current section of the menu. In your MenuComponent.vue file include the following lines of code:
<template>
        <!-- Menu -->
        <nav>
                <router-link to="/" class="nav-link">
                    Home
                </router-link>
                 |
                <router-link to="/about" class="nav-link">
                    About
                </router-link>
        </nav>
</template>

<script>
export default {
  name: 'MenuComponent'
}
</script>

<style scoped>
a {
    color: #3eaf7c;
    text-decoration: none;
}
nav{
    text-align: center;
}
.router-link-active {
    text-decoration: underline;
}
</style>
As a last step we just have to include our MenuComponent inside our views components. Therefore, make sure to include it – below you can see an example of HomeView.vue, make sure to adapt AboutView and NotFoundView as well.
<template>
    <MenuComponent />

    <h1>Home</h1>
    <p>This is the home section</p>
</template>

<script>
import MenuComponent from '../components/MenuComponent'

export default {
    name: 'HomeView',
    components: {
        MenuComponent
    }
}
</script>

<style scoped>
</style>
Finally you should see the menu on top.