Vuex was the officially recommended state management solution for quite a while, however, Pinia has now taken its spot and is the recommended state management solution in the newest Vue.js docs. In this article let’s first take a look at state management, what it is and why we might need it, then we will see why it makes sense to use Pinia (instead of Vuex), afterwards we will see an example app build with Pinia.
What is state management?
Applications often need access to the same data even across different components. Without global state management we always have to emit data up via events from child to parent components and passing data down as props from parent to child components. You can probably already imagine that with a growing size of the application and many components where the data is needed this quickly gets unmaintainable. That’s where a state management solution like Pinia is required. Instead of each component keeping track of its own state and passing that state around. Pinia acts as a global store, storing state in a single place and passing it out to components, as they request it, as well as providing mechanisms to components to mutate it.
So when should you use a state management solution like Pinia for your project. Vue school says state management with Pinia is not necessary if:
- The project has only 5 – 10 components
- It is a smaller project with no shared state
- It is a demo project
Why using Pinia?
Apart from the above mentioned advantages of global state management like bigger applications still being maintainable, Pinia – according to the official Pinia site – offers some advantages for instance compared to Vuex:
- Intuitive – Stores are as familiar as components. API designed to let you write well organized stores. It has fewer concepts to learn compared to Vuex and is therefore just easier for developers.
- Type Safe – Types are inferred, which means stores provide you with autocompletion even in JavaScript!
- Devtools support – Pinia hooks into Vue devtools to give you an enhanced development experience in both Vue 2 and Vue 3.
- Extensible – React to store changes to extend Pinia with transactions, local storage synchronization, etc.
- Modular by design – Build multiple stores and let your bundler code split them automatically.
- Extremely light – Pinia weighs around 1kb, you will forget it’s even there!
How to use Pinia?
You can get started by installing Pinia with your favourite package manager:
yarn add pinia
# or with npm
npm install pinia
Create a Pinia instance (the root store) and pass it to the app as a plugin (this could be your main.js file):
import { createApp } from 'vue'
import App from './App.vue'
import { createPinia } from 'pinia'
import { router } from './router/router'

const pinia = createPinia()

createApp(App).use(pinia).use(router).mount('#app')
What is Store?
A Store (like Pinia) hosts global state, it’s a bit like a component that is always there and that everybody can read off and write to, it contains data that can be accessed throughout your application, for instance user information that is displayed in the navbar, as well as data that needs to be preserved through pages, like a very complicated multi-step form.
The Pinia Store has 3 concepts:
state,gettersandactions
and it’s safe to assume these concepts are the equivalent of
data,computedandmethods
in components.
Now let’s build an application – which is based on the following YouTube Video in the channel Make Apps with Danny, which I can highly recommend – and if you already followed along with the Vue router tutorial, we can perfectly use this to include state management with Pinia into our application. We installed Pinia and did some changes to main.js as you can see above. Now let’s create a new file called counter.js and place it into a directory called stores right next to the router directory. The counter.js file should contain the following state, getters and two actions:
import { defineStore } from 'pinia'

export const useCounterStore = defineStore({
    id: 'counter',
    state: () => ({
        count: 0,
        userName: 'John Doe' // feel free to change the userName to your name
    }),
    getters: {
        oddOrEven: (state) => {
            return (state.count % 2 === 0) ? 'even' : 'odd'
        }
    },
    actions: {
        increaseCount() {
            this.count++
        },
        decreaseCount() {
            this.count--
        }
    }
})
Inside of our components directory, let’s create a new component called CounterComponent.vue, which we can reuse. We have to import our store to call the actions and show the state. It should contain the following code:
<template>
    <div class="buttons">
        <button @click="storeCounter.increaseCount">
            {{ storeCounter.count }}
        </button>
    </div>
</template>

<script setup>
import { useCounterStore } from '../stores/counter.js'

const storeCounter = useCounterStore()
</script>

<style scoped>
.buttons button {
    font-size: 40px;
    margin: 10px;
}
</style>
Now let’s update our views in the views directory. We can start with HomeView.vue and put in the following code, make sure to include the setup keyword in the script tag, to indicate that we are working with the composition API:
<template>
    <MenuComponent />

    <h1>Home</h1>
    <p>This is the home section</p>

    <h2>Hello {{storeCounter.userName}}, feel free to change the number:</h2>

    <CounterComponent />

    <div class="buttons">
        <button @click="storeCounter.decreaseCount">-</button>
        <button @click="storeCounter.increaseCount">+</button>
    </div>

    <hr />

    <div>
        This counter is: {{ storeCounter.oddOrEven }}
    </div>

    <hr />

    <div>
        <p> Edit the counter: </p>
        <input
            v-model="storeCounter.count"
            type="number"
        />
    </div>
</template>

<script setup>
import { useCounterStore } from '../stores/counter.js'

const storeCounter = useCounterStore()

import MenuComponent from '../components/MenuComponent'
import CounterComponent from '../components/CounterComponent'
</script>

<style scoped>
.count {
    font-size: 60px;
    margin: 20px;
}
.buttons button {
    font-size: 40px;
    margin: 10px;
}
</style>
Now we only have to change AboutView.vue as well:
<template>
<MenuComponent />
<h1>About</h1>
<p>This is the about section</p>
<CounterComponent />
</template>
<script setup>
import MenuComponent from '../components/MenuComponent'
import CounterComponent from '../components/CounterComponent'
</script>
<style scoped>
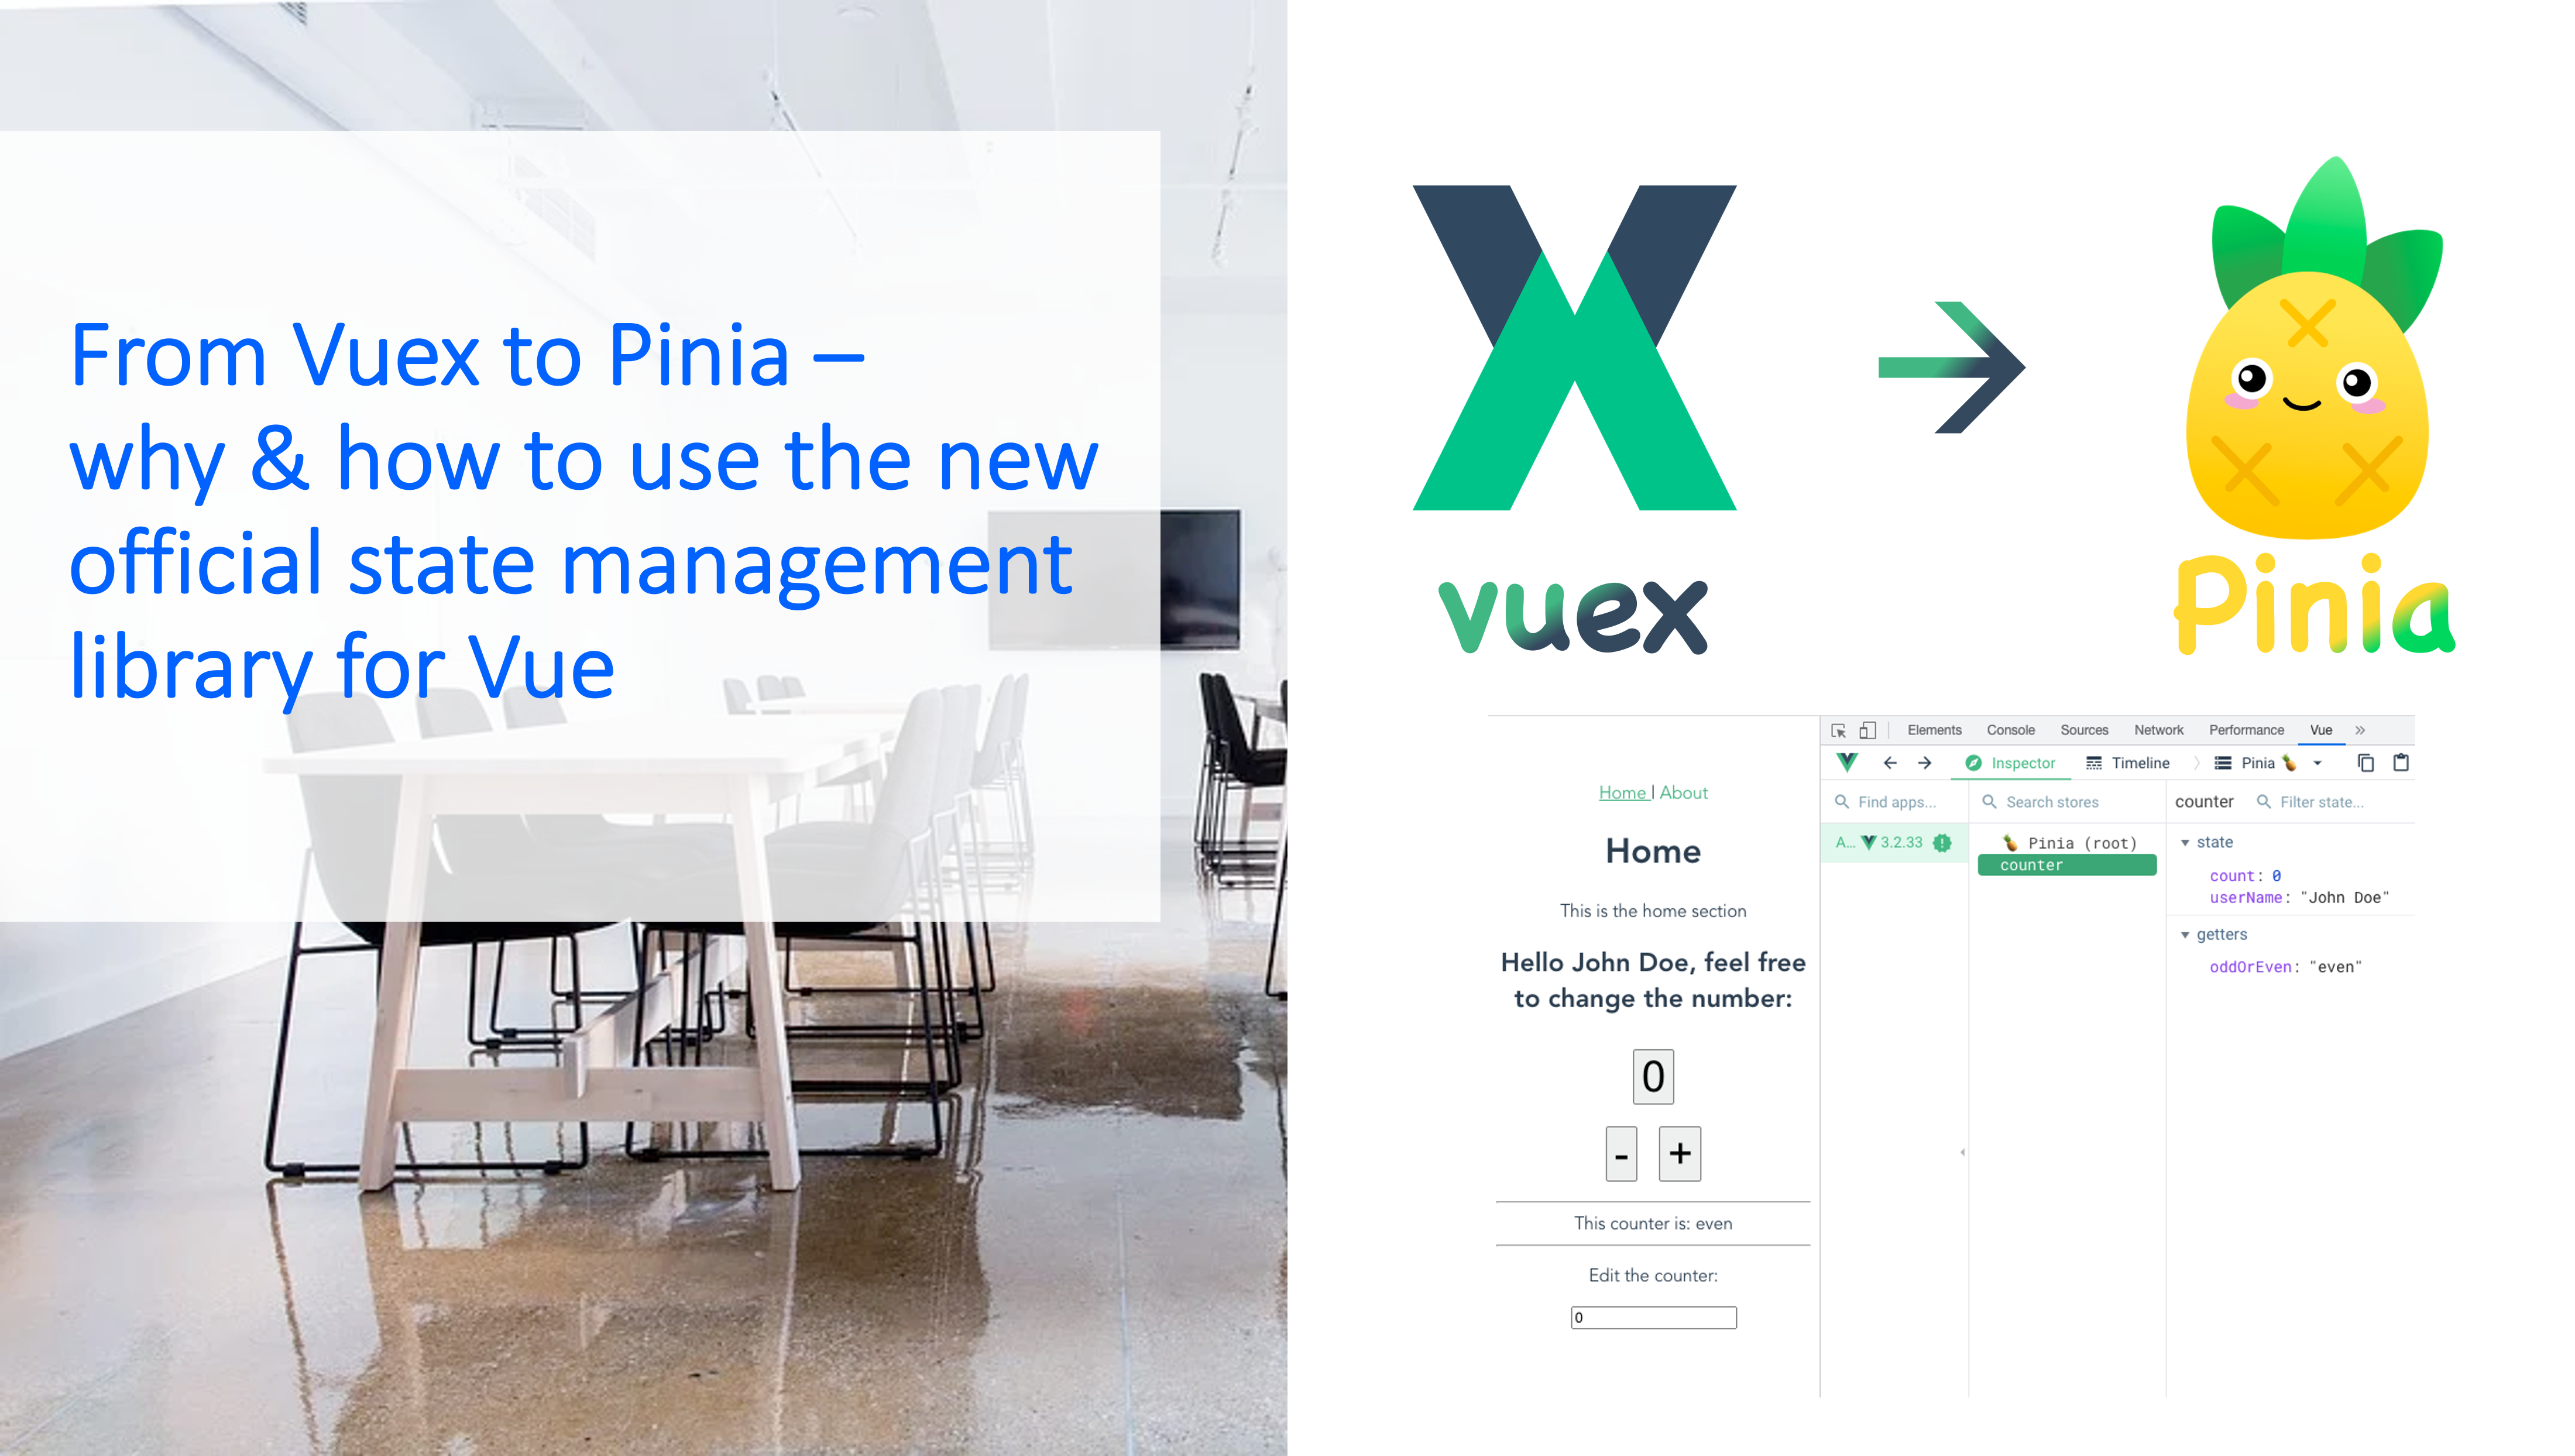
</style>Now we can start the app by running npm run serve and then we can change the count. As you can see the state doesn’t change if you go from the Home to the About section. To further see what’s going on with our state you can install the vue devtools, just Google the term and install the browser extension, for instance for Google Chrome, then instead of going to the console you can go to Vue, select the Inspector and then Pinia, now you will see your state and how it updates each time you change the count. Feel free to fork the source code on Github.