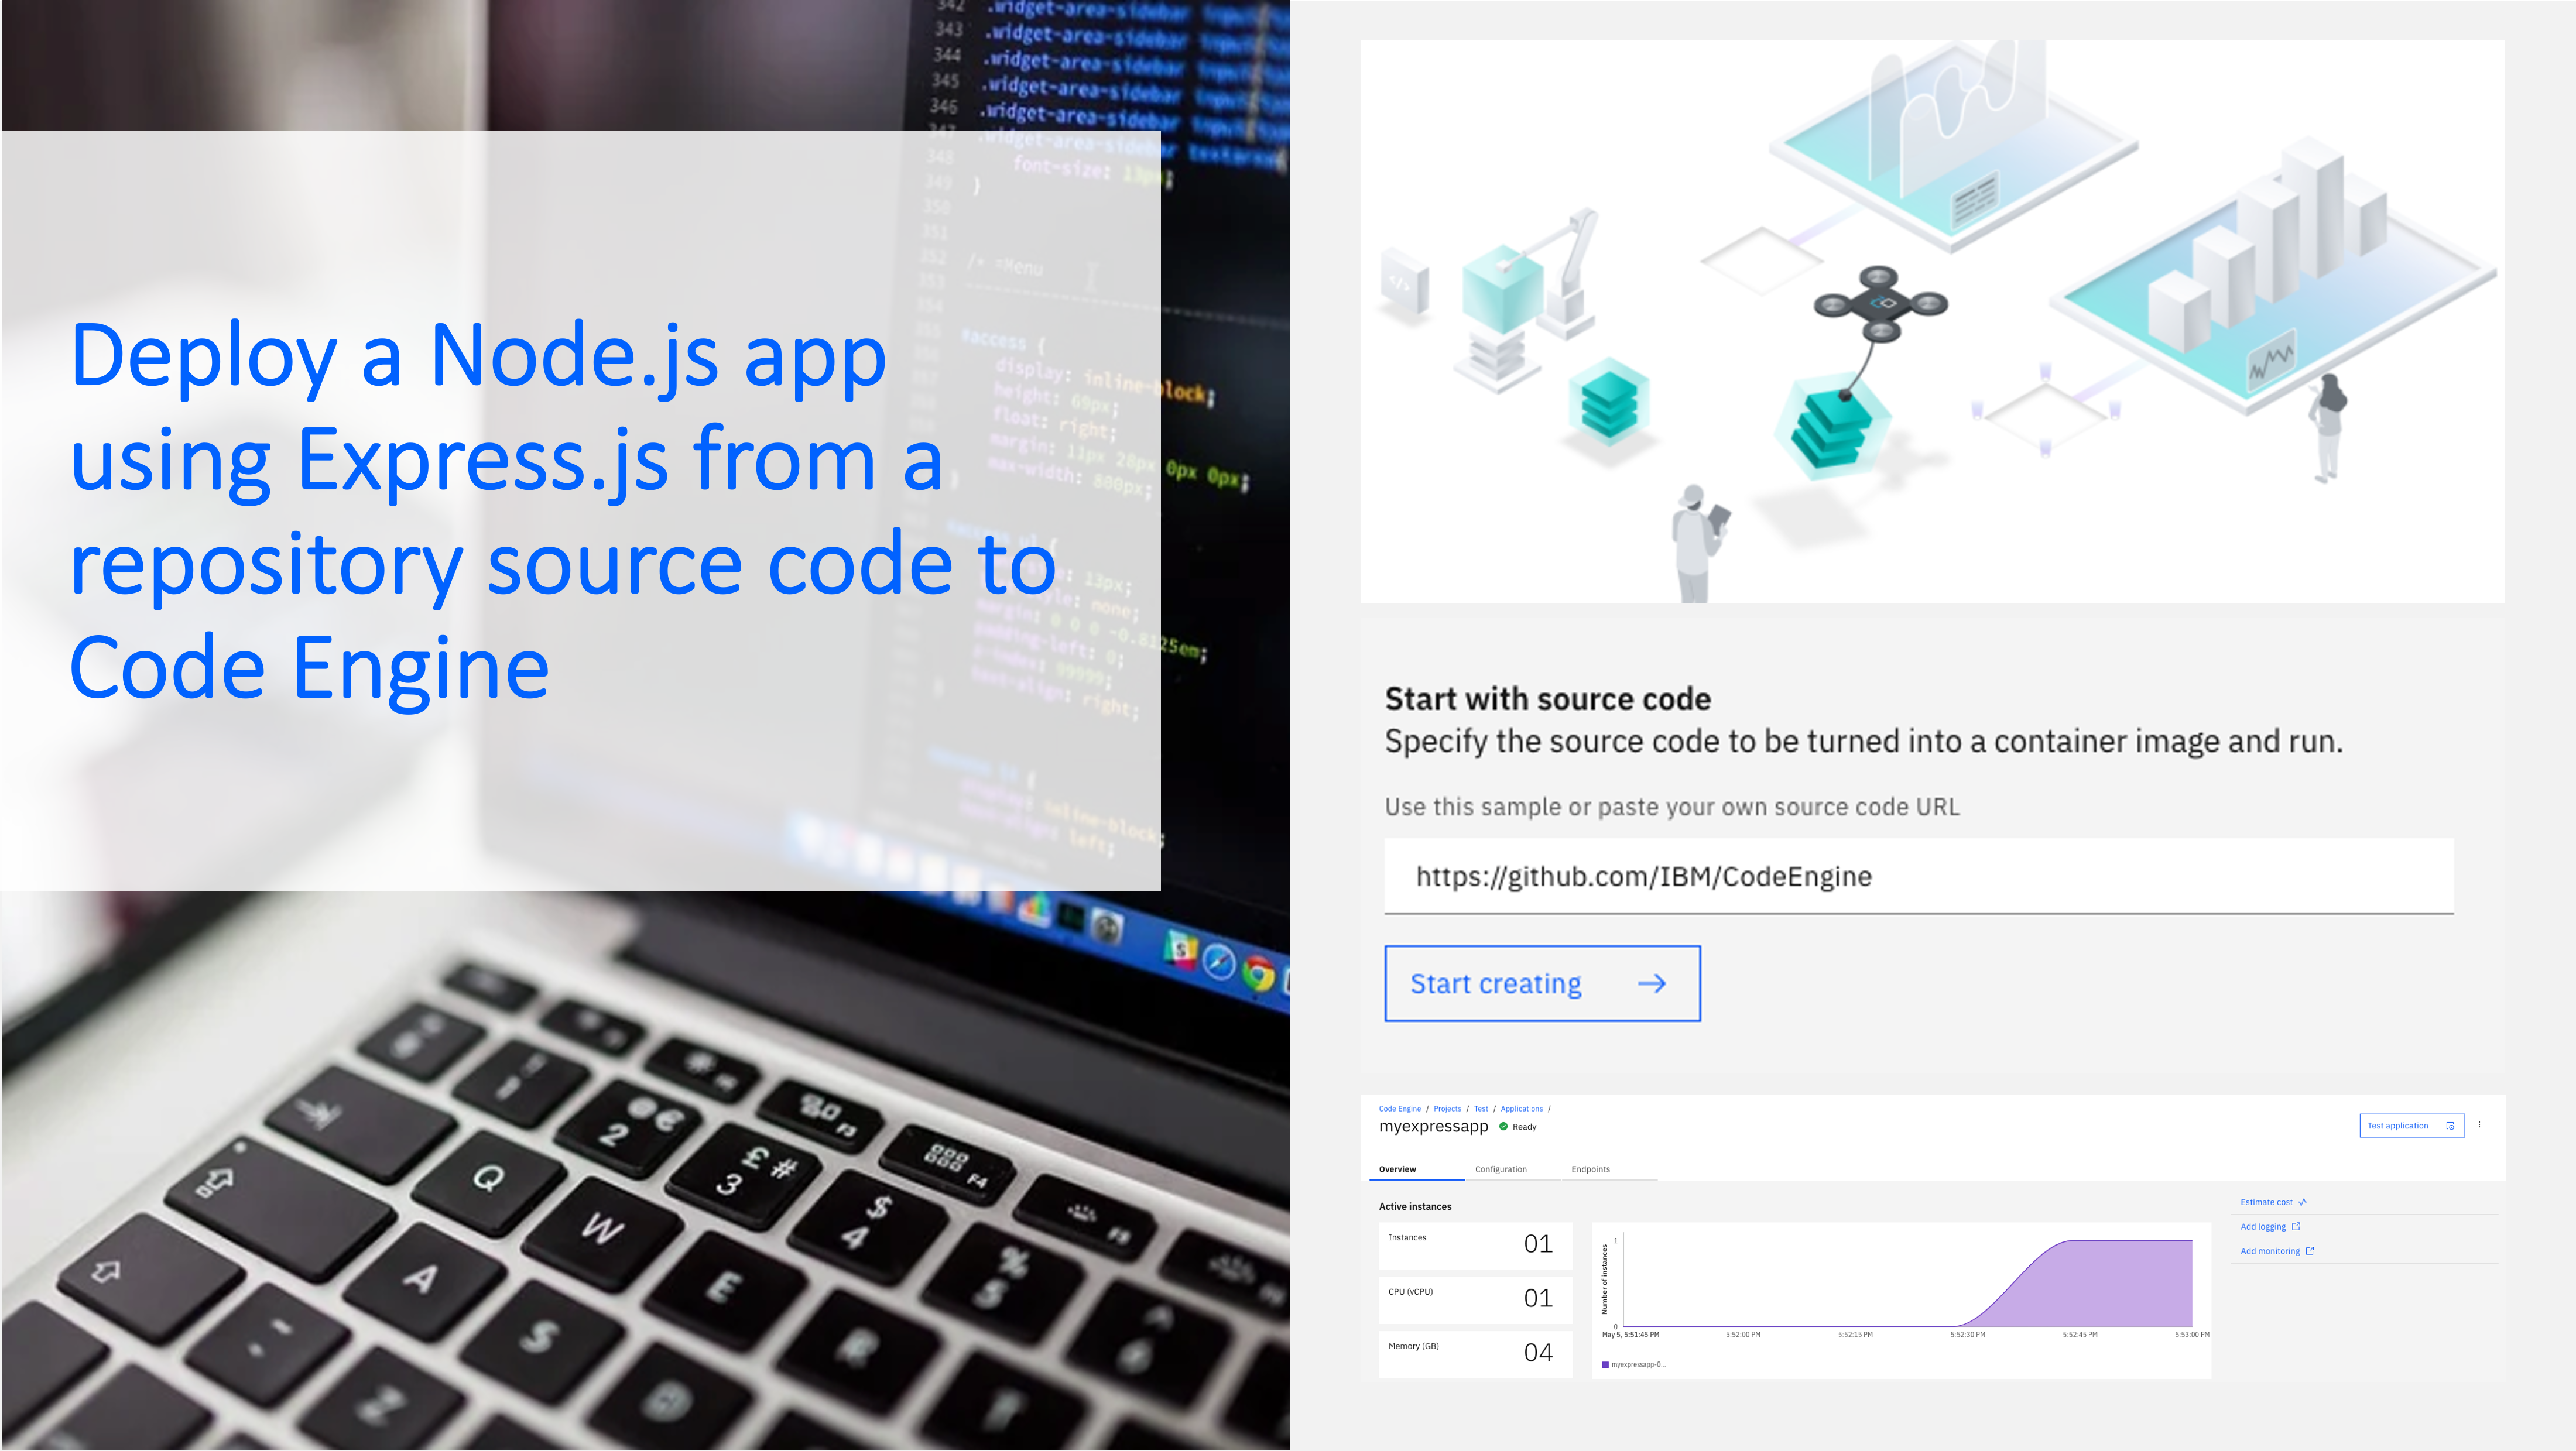
You can deploy your Node.js application directly from source code using the UI or the console. In this tutorial we will use the Code Engine UI on the IBM Cloud.
- Open the Code Engine console.
- Select Start with source code and enter your GitHub repository, click start creating.
- Select Application.
- Enter a name for the application. Use a name for your application that is unique within the project.
- Select a project from the list of available projects. If you don’t have a project, create a new one. Note that you must have a selected project to deploy an app.
- Select Source code. Make sure the link to your GitHub repository is correct.
- Click Specify build details.
- Select a source repository, for example,
https://github.com/IBM/CodeEngine. If you are using a public repository that does not require credentials, selectNonefor the Code repo access – in case of a private repository please provide the SSH URL. You can optionally provide a branch name. If you do not provide a branch name and you leave the field empty, Code Engine automatically uses the default branch of the specified repository. Click Next. - Select a strategy for your build and resources for your build. For this tutorial let’s choose “Cloud Native Buildpack“. Don’t change Timeout and Build resources for now. Click Next.
- Select a container registry location / server, such as
IBM Registry, Frankfurtto specify where to store the image of your build output. - Leave Registry access secret at Code Engine managed secret, namespace at the default namespace and the repository (image name) also at the default value.
- Click Done.
- Modify any runtime settings or environment variables for your app. For more information about these options, see Options for endpoint visibility of apps and Options for deploying an app.
- You can leave the port at the default value 8080 or change it and let’s choose a public endpoint.
- Click Create.
- After your build run is submitted, the built container image is sent to Container Registry and then your application pulls the image and deploys for you. After the application status changes to Ready, you can test the application. Click Test application and then click Application URL.
Now that you have deployed your application, you can view information about application revisions and any running instances, and configuration details. After the build you can still change environment variables such as Api Keys, or go to Configuration revisions and click “Edit and create new revision” to restart the building process, in case you make any new commits to your repository.
